Teaching at a CrossFit gym, I’ve become quite familiar with the mobility challenges of overhead squats. I’ve also seen injuries in athletes who repeat this motion without proper mobility in the hips and low back. These three yoga poses will target the essential muscles and connective tissues that must be mobile to achieve the elements of this lift.
Lizard Pose With a Twist
Benefit: Overhead squats require deep flexion of the hip flexor, specifically the psoas. If the psoas is tight or inflamed, it may not permit this flexion. Repeating this stretch every single day will help to open the front of your hips.
Instructions:
- From Down Dog, step your right foot just outside your right hand.
- Make sure your knee is directly over (not sticking in front of) your ankle, and the knee is pointed in the same direction as the second toe.
- Lower your left knee to the mat. You can flatten the top of the left foot if this feels okay on your knee.
- Keeping the left hand grounded, gently lift the right hand to the inner right thigh (not the knee).
- Use the right hand to rotate the inner thigh up and out.
- At the same time, use the hand for traction to reach your chest away from your thigh and twist your chest to the sky.
- Actively engage the lower belly, as if you are trying to lift your hip points up and rotate your left inner thigh toward the back of the room.
- Hold for 3-5 minutes.
- Rest in Down Dog or Child’s Pose for 1 minute.
- Repeat left side.
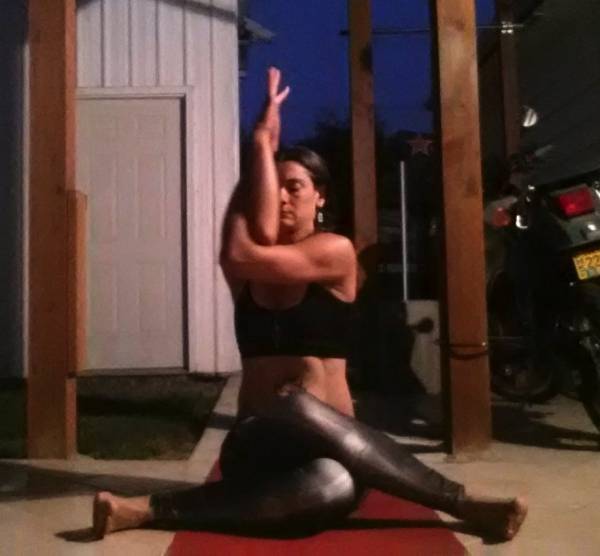
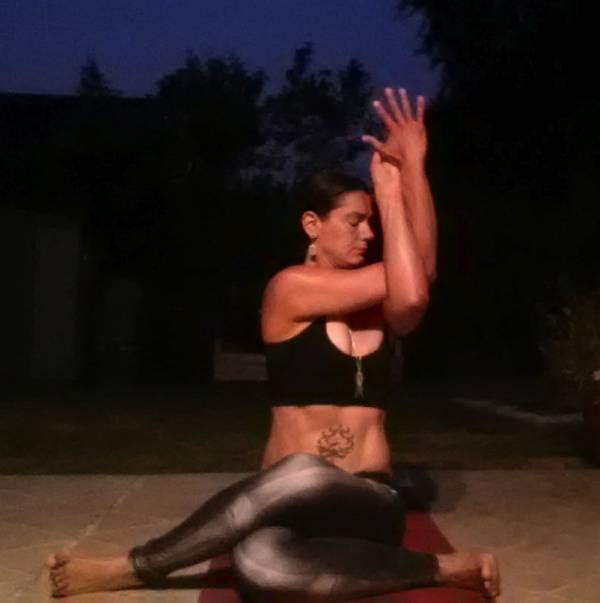
Gomukasana With a Twist
Benefit: Overhead squats require open abductor muscles. This includes the glutes and outer hip, but it also includes the connective tissue surrounding these large muscles. Gomukasana – literally meaning “Cow Face” but often called shoelace pose – works to open both the muscles and the connective tissue.
 Instructions:
- From seated, bend the knees and place the soles of the feet on the ground.
- Cross the right leg on top of the left, crossing at the knee.
- Use the hands to draw the feet apart, ultimately bringing the outer edges of the feet to the mat and sitting between your two feet. Your knees will remain stacked, with the shins extending out in as straight a line as possible from the knees. From your perspective, it will look like an arrow pointing away
 from your body or, in an ideal world, like a T.
 - If your sit bones do not touch the ground like this, it is okay to back off. The knees may not stack exactly, the feet may draw back toward the sit bones, or you may sit on a prop to elevate your hips.
- Hold like this for 1 minute.
- Twist the upper body to the right.
- Hold like this for 2 minutes.
- Rest by lying on the back and letting the legs shake out for 1 minute.
- Repeat left side.
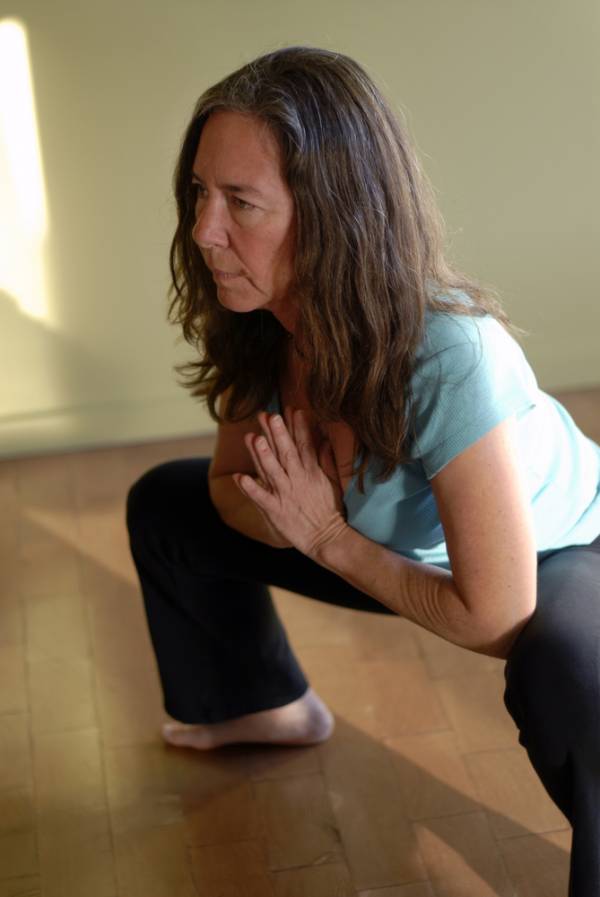
Yogi Squat
Benefit: It sounds simple, but the easiest way to open the body for squats is to squat! Yogi squat, malasana, is the preferred method for sitting in tasks in many parts of the world. People who squat rather than sit in chairs have less lower back pain, greater range of motion in the hips, and generally healthier joints. Get squatting, people.
 Instructions:
- Start standing with the feet a little wider than hips distance apart. The toes may turn out slightly, with the knees turning in the same direction as the toes.
- Breathe in deeply, and as you exhale begin to wiggle or shimmy your way down to a squat. Shimmying down helps mobilize the hips and prevent cramping.
- Try to bring your hips as close to the ground as possible while keeping your chest lifted tall.
- The elbows may press into the thighs to keep the knees pointing over the second toes.
- Hold for up to 5 minutes
Modifications:
- If it’s too easy (it won’t be), step your feet closer together and turn the toes and knees straight forward.
- If your shins or arches cramp, roll a blanket up and place it beneath your heels. This will help you maintain an arch in your feet.
- If it is too hard to hold this for any extended period of time, try bringing your back to the wall. Lean against the wall for support.
- If it is still too much, perform the same posture but sit on a block or bolster. You will still get many of the benefits.
Repeat this sequence as often as possible, but particularly before and after overhead squats. Feel your lifts becoming easier!
Photos 1-3 courtesy of Willow Ryan.
Photo 4 courtesy of Shutterstock.


