A few months ago my husband and I decided to give our yard – or, as we called it at the time, the dustbowl – a makeover. We spent the entire weekend aerating the soil, removing rocks and gravel from the dirt, spreading fertilizer, planting grass seed, hauling mulch, and planting vegetables, herbs, and flowers. By the end of the weekend the dustbowl was on its way to becoming a yard and we were exhausted and sorer than we’ve been in a long time.
Since then I’ve thought many times that gardening is a lot like training. You put a lot of work and sweat into it, and if you’re smart and dedicated, you will see results. If not you’ll end up with dead plants and lots of wasted money and time. You also don’t have to be the most naturally talented person in the world to have a nice garden. I’ve realized that just like I will never be an elite, world-class athlete, I definitely don’t have the greenest thumb in the world.
Beyond the analogous relationship between gardening and training, there’s also a very real one. If you look at the supplements and other products used to treat typical athlete woes, you’ll notice a lot of them originate in the dirt. Our own garden is a very practical one. We’ve planted a lot of our own food and most of the flowers in our yard are meant to attract pollinators and beneficial insects. We’ve also included a few medicinal plants, some of which have easy applications for use by athletes.
Here are a few of beneficial plants every athlete needs in their garden and how to use them:
1. Aloe Vera
This is one of my favorite plants. If you live in a hot or arid region, you might have some growing in your yard and not even realize its potential. Aloe vera is anti-inflammatory as well as anti-viral, which is why you’ll find it in many natural products made to prevent or treat skin infections like athlete’s foot. You can also use this product on skin infections or as a skin moisturizer.
Here’s how you can use aloe vera straight from the garden:
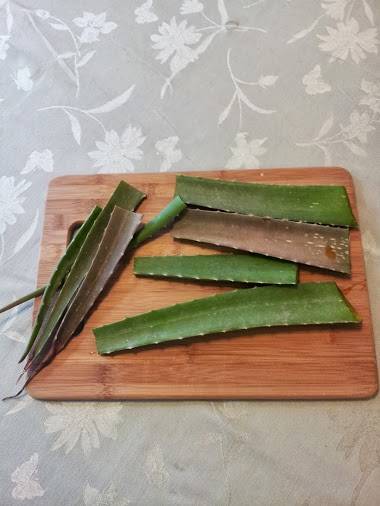
- Cut off about four leaves of aloe vera.
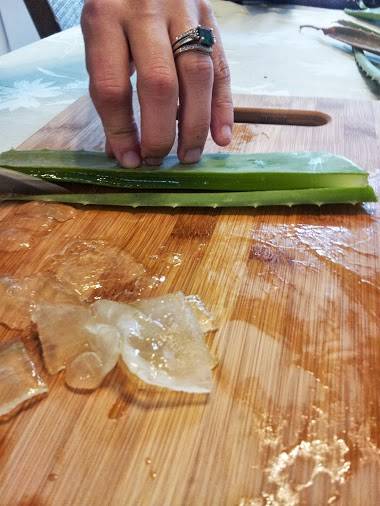
- Remove the outer green skin with a sharp knife until you’re left with the pulp in the middle. It will be gooey, so be careful.
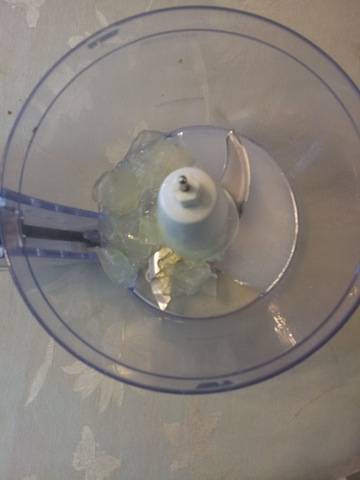
- Place the pulp in a blender. Add about half as much coconut oil as you have aloe vera, as well as a squeeze of lemon juice. Blend it up!
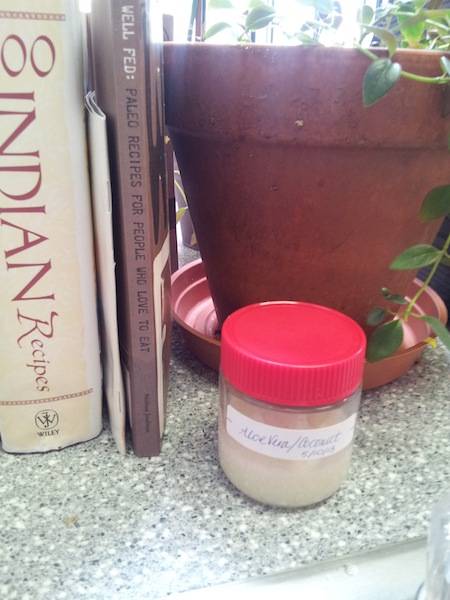
- Pour the mixture into a container, cover it, and keep it in the fridge.
2. Arnica
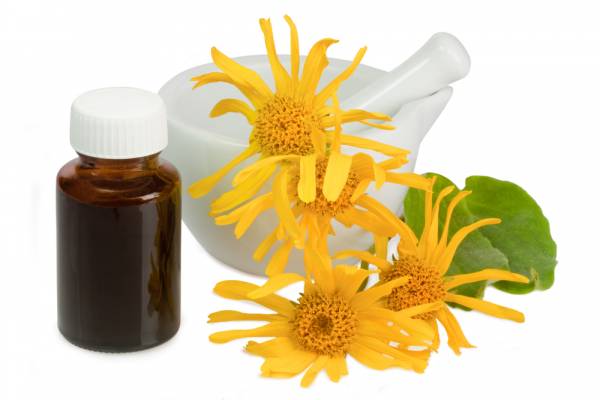
If you’ve ever had any exposure to homeopathic treatments for muscle aches and pains, you’ve probably heard of arnica. You might not realize, however, that it might be an easy plant to grow and use from your own home garden. Unfortunately for me, this isn’t the case since arnica needs a cool climate. I live in Phoenix so no luck there.
If you live in USDA Zones 5 to 8, you can probably grow arnica pretty easily. To use arnica plant in a tincture, simply combine one part arnica with ten parts alcohol.
Warning: Do not take arnica internally as it is toxic. Also, don’t apply it to broken skin. Test the tincture on a small area of your skin before you rub it all over your sore back. Some people are sensitive and may not react well to this herb.
3. Peppermint
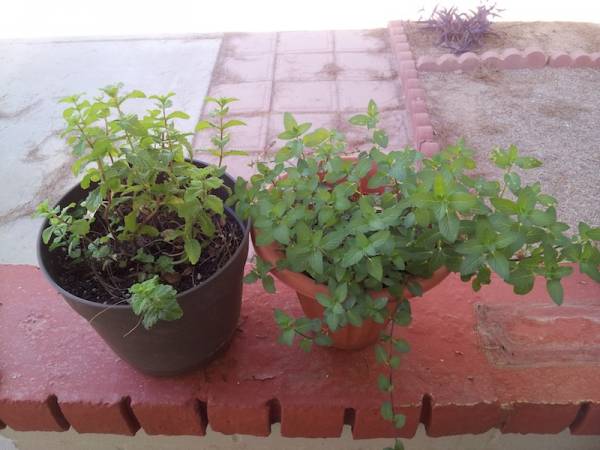
Peppermint has a diverse portfolio of applications in the kitchen – from hot tea, to mint chutney, to mint juleps. It will always have a special place in my heart because it was the first plant I actually managed to not kill within a week. There are all kinds of varieties out there, and all are easy to grow in a wide range of climate zones.
Right now I have a couple mint plants, including a mojito mint and my favorite, chocolate mint. Give mint lots of water and use it frequently if you want it to grow quickly. It likes to expand and is actually invasive in the ground, so you’ll do well to plant it in a container if you don’t want it to take over.
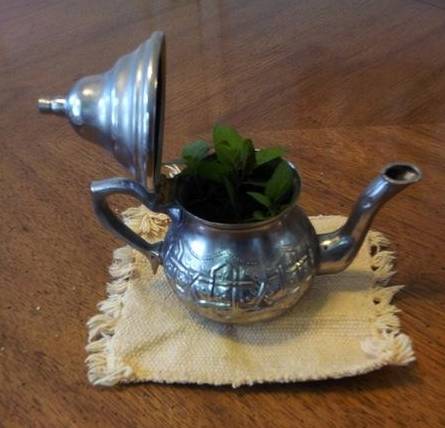
Peppermint is also an excellent plant for workout recovery. One of my favorite things to do after a long hard workout is go outside, cut a nice sprig of peppermint, rinse it off, and let it sit in a cup of hot water for a few minutes. Or, for a refreshing post-workout bath, mix two cups of Epsom salts with some crushed mint leaves. You can put the leaves directly in the bath or tie them in cheesecloth for less mess.
4. Rosemary
Rosemary is known for its anti-inflammatory properties, which makes it ideal for treating muscle soreness. Like mint, it’s easy to grow and is an excellent culinary herb to have around if you cook a lot. One of my favorite uses for rosemary is homemade massage oil. It takes a bit of time, but is super easy to make and an effective oil to calm muscle soreness. Here’s how you do it:
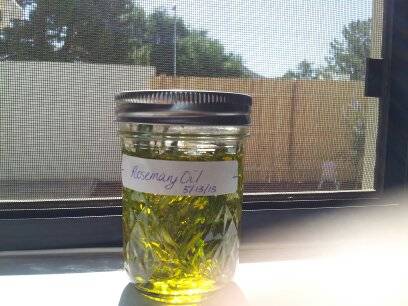
- Pick several large sprigs of rosemary off your plant and wash them. Let them dry completely before you proceed.
- Put the rosemary in a bottle and pour a carrier oil over the rosemary. Leave about an inch of space. I like to use jojoba or sweet almond oil for massages. The picture on the right is actually made with olive oil – you can use it in the kitchen too!
- Cover the bottle and let it sit for about four to six weeks in a warm place. Give the bottle a light shake every day or two.
- Strain the rosemary leaves and voila! That’s all there is to it.
It’s a pretty cool thing when your hobbies start to complement each other. I never would have imagined that gardening and athletics could mesh so well. Happy Spring!


