You first learned to roll when you were just an infant. Whether you remember it or not, learning to roll was a fundamental movement that came before learning to crawl, walk, jump, or run. Even though it was basically a flop from your belly onto your back, the skill was a huge developmental milestone for your young body.
Now that you’re an adult, it’s important to revisit the art of rolling. Why is rolling such a fundamental skill for both parkour and general athletics?
First and foremost, good rolling technique is the best way for you to recover from a fall. It’s inevitable that over the course of your training you will fall. Perhaps you’ll trip on a vault or miss a precision jump, or you might just trip while running down a sidewalk. Rather than dropping to the ground like a sack of bricks, an efficient roll translates your momentum forward to help you get back on your feet and running ahead without injury.
Second, a roll is simply a nice movement to tie other skills together regardless if you’ve fallen. Sometimes you can use a roll to get onto a higher surface, like a quarter-flight of stairs. Likewise, it can be used to limit the impact you take through your knees, if you drop from an overhead height.
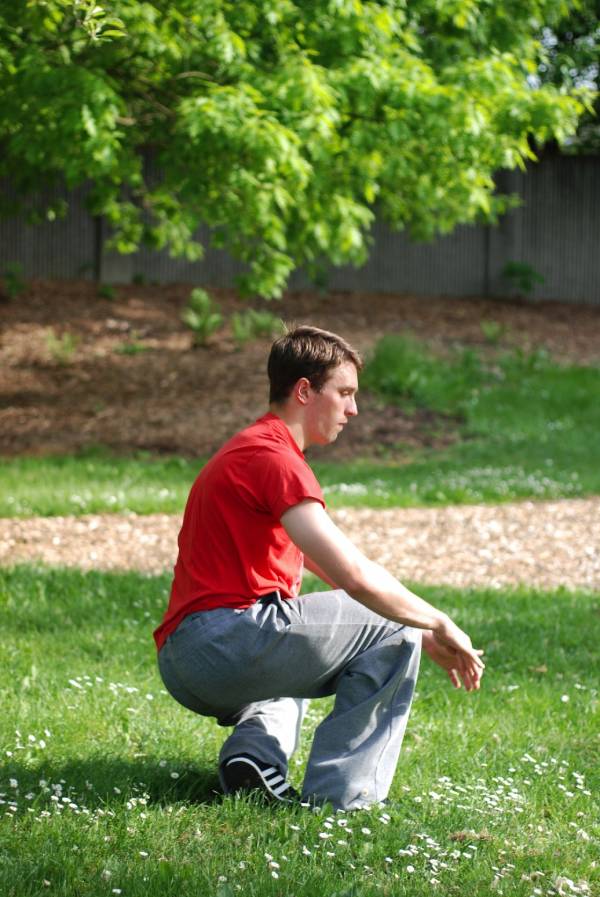
Before going on, it’s important to draw a distinction between two types of rolls: gymnastics rolls versus parkour rolls. A gymnastics roll (top photo) is where you place your hands directly in front of your body, tuck your chin, roll straight over your spine and return to standing with your weight evenly distributed between your feet.
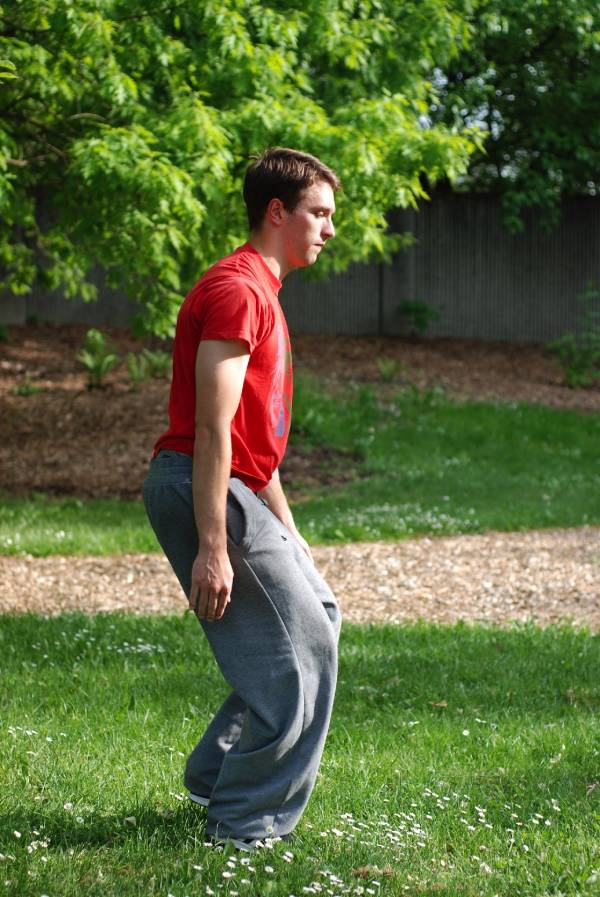
In contrast, a parkour roll (bottom photo) is asymmetrical. You roll across your back along a diagonal, so that your feet strike the ground one at a time. You might be familiar with it from 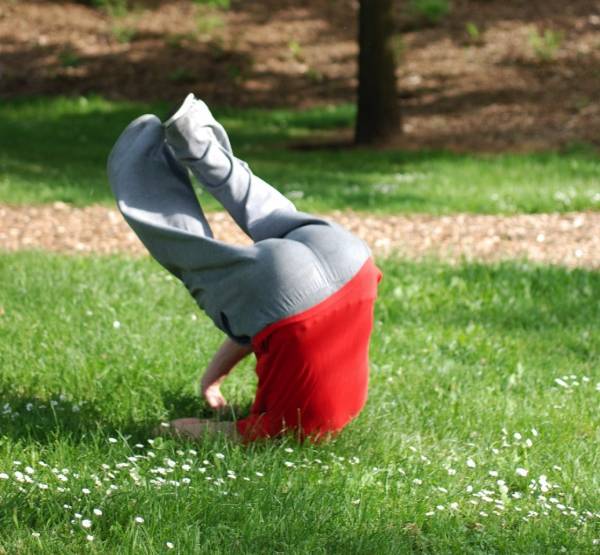 martial arts disciplines, where it is often referred to as a “shoulder roll.”
Anytime you are outside of a padded gymnasium, playing in the real world of concrete and hard earth, a parkour roll is a thousand times more desirable than a gymnastics roll. During a gymnastics roll you expose your head, neck, and vertebra to striking the ground, which could result in painful injury. The parkour roll minimizes contact with bony surfaces, intentionally distributing forces to the muscular padding of your shoulder and back.
Doing a gymnastics roll on the sidewalk is painful, but this is not the case with a parkour roll – when it’s done correctly.
Now, it takes tons of training to become competent enough with the parkour roll to attempt it on a hard concrete surface. Before getting to that level, you’re going to want to find a soft place to train. A wood-chipped playground, grassy field, or sand beach are good environments to use at first.
The basics of the parkour roll can be broken down in this way:
- Start in a low squat on the ground.
- Reach your arms diagonally, to one side of your body.
- Place your hands on the ground in a diamond position, palms flat.
- Drop your forward shoulder to the ground and tuck your chin to your opposite armpit.
- Push off your feet to propel the roll forward.
- Roll across your back along a line from one shoulder to the opposite hip.
- As you roll forward, tuck one foot (the same side as your back shoulder) under your bottom to strike the ground.
- Your other leg should be partially extended, and ready to take weight as you come up onto your first foot.
- Shift your weight fully onto your feet and come up to stand.
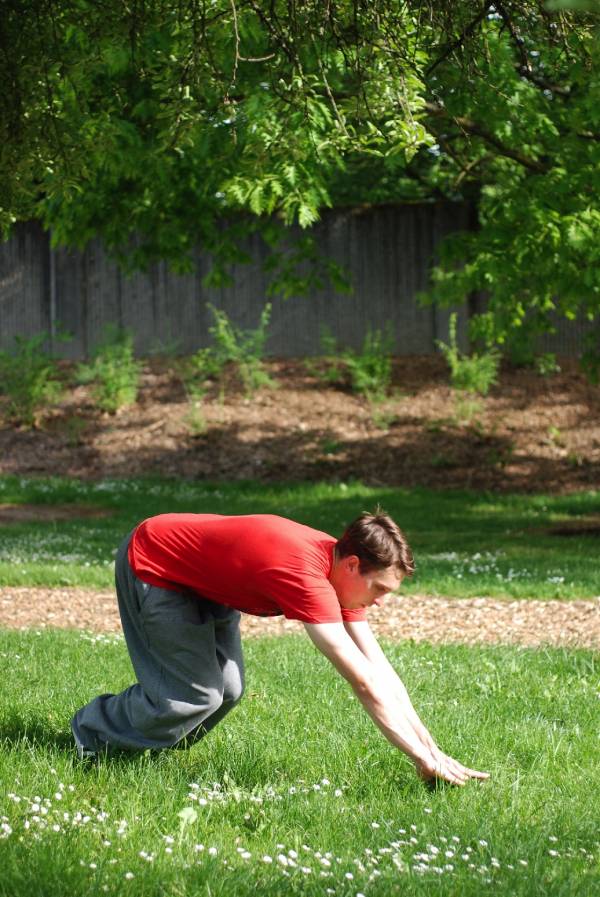
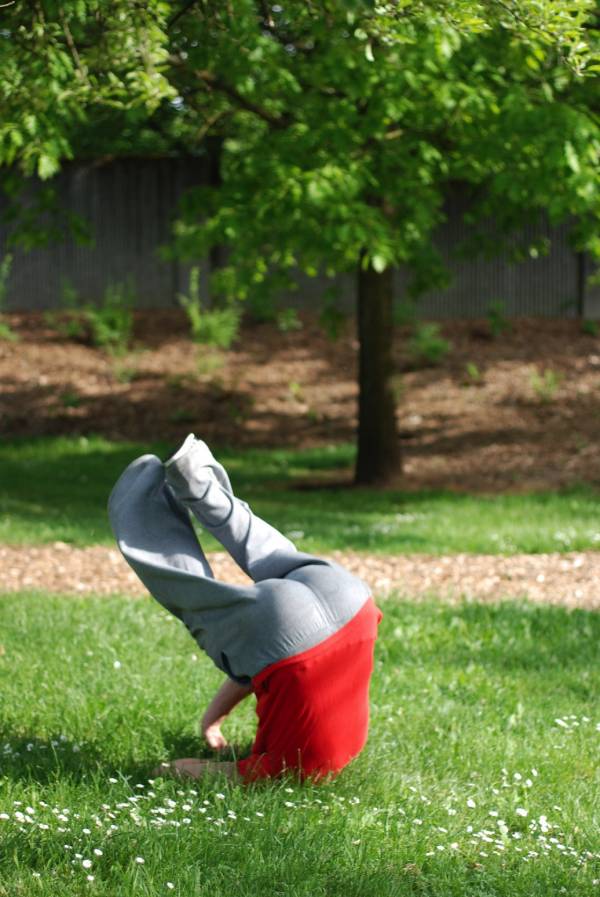
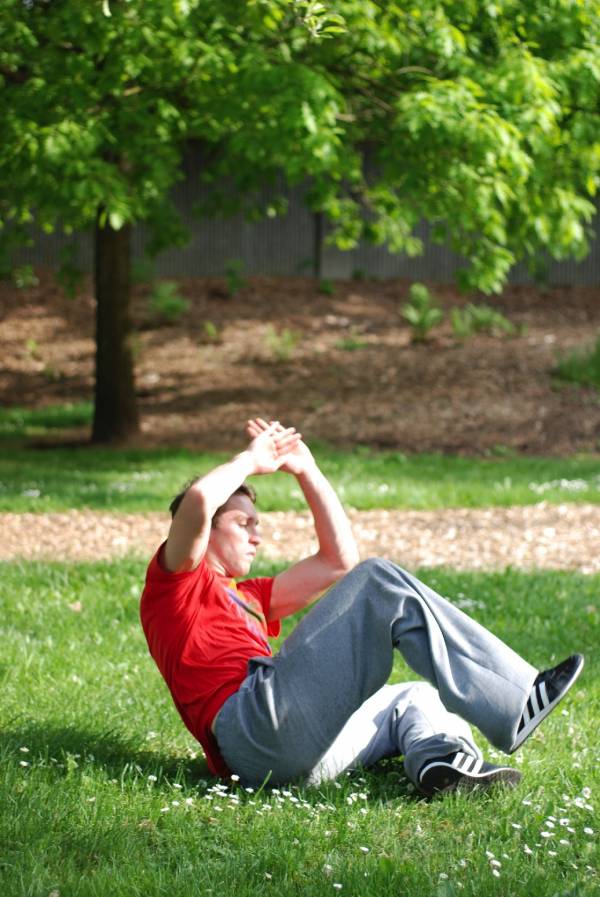
When performed correctly, you shouldn’t have any discomfort with this movement. However, there are still a few bony contact points that can be painful if struck. Pay attention to avoid hitting your:
- Acromion process (tip of shoulder)
- Ridge of shoulder blade
- Sacrum and posterior superior iliac spine
- Iliac crest (lateral part of pelvis)
- Elbow
- Knee
- Lateral malleolus (outer part of ankle)
- Heel
Over time, subtle shifts in limb placement and joint position should be enough to learn how to avoid striking any of those skeletal prominences. It’s often helpful to lie on the ground and practice rolling across your back along a diagonal to find the ideal pathway from your shoulder to hip. Remember to use your muscle bulk as a cushion.
What’s next? After you’ve mastered a painless parkour roll on one side, make sure to practice it from your opposite side. Then, start adding a bit more speed and try to take the roll from a standing position
It’s also critical to learn how to translate the roll into different situations and movements. Sometimes you might need to roll to the side or even backward, depending how you have fallen or come out of the preceding skill. Get in the habit of rolling around on the ground from a variety of different directions, remembering the fundamental use of diagonals and soft tissue padding.
The tutorial in this post barely skims the surface of parkour rolls. Much has been produced about the nuances of how to perform the perfect roll. For instance, some people prefer to have their bottom foot plantarflexed (pointed underneath them) versus dorsiflexed (pointed to the sky) as they make contact with the ground.
If you’re eager to learn more about parkour rolls, then you must check out Amos Rendao’s Parkour Ukemi channel on YouTube. He is the head instructor at APEX Movement, and dedicates his tutorials to the art of falling, emphasizing the efficient use of rolls. His videos are both hilarious and super informative.


