If you haven’t heard of the get up yet you must have been living under a rock. From rehab trainers to NFL teams seeking fractions of gains in performance, it seems that everyone has realized what a great exercise the get up can be.
But there are some things people always seem to get stuck on when it comes to the get up – like how the get up can fit into training or which implement to use. Before I get into all that, I think we should first look at a list of reasons why you should include the get up, broken down into sections for ease of reference. For some people even the idea that there are distinct sections within the get up could be eye opening in itself. I see many try to turn the movement into a single move from lying to sitting with no thought for how the pieces of the movement should look.
And while we’re talking about form, I always have to scratch my head at people whose idea of the get up is basically to hold a weight overhead and stand up with no care for how they get there. Yet, we think a squat should have certain components or standards, and we do with all other exercises from resistance exercises to bodyweight moves, so why would the get up not have a particular form attributed to it?
I’ve borrowed these definitions from Brett Jones and Gray Cook and their awesome product Kettlebells From the Ground Up. If you’re an FMS fan, kettlebell fan, or just a manic student of training and don’t have this yet, then should go get it right now.
Get Up Part 1: Roll to Press
We all know that rolling is good for you, as it is a developmental pattern. Well, the get up has a roll in it even before you start the movement. Just the action of rolling to your side, pulling the bell to you, and rolling to your back will help fire up this pattern. This also addresses the rotary stability component of the FMS. Once you are in what people think of as the start position you are demonstrating open-chain shoulder stability.
Get Up Part 3: To Elbow
The drive off the ground begins with the planted foot. So, if you have the kettlebell in your right hand, your right leg will be bent with the foot planted on the ground. You link your body together as you drive the foot into the ground and then pull your left elbow into the ground creating that cross-body X-pattern needed for gait and running patterns. Doing this displays midline stability (like the hard-core option of the trunk stability push up from the FMS) as well as showing that you should have no trouble with the X-patterns needed for gait.
Get Up Part 3: Tall Sitting
As you extend the left hand and screw it into the ground to pack the shoulder, you are now in the tall sitting position. Being here demonstrates that you have good hip flexion with both legs – one side showing the active straight leg raise from the FMS and the other showing whether or not you have the hip mobility needed for squatting. The down hand displays closed-chain shoulder stability, while the right hand, which is holding the kettlebell overhead, is still showing open-chain shoulder stability. To make all this work you’ll also need to have decent thoracic extension.
All this and we’re not even off the ground yet.
Get Up Part 4: Side Kneeling
To get into the next position, you’re going to bridge as high as you need to in order to make enough space to get the straight leg through and place the knee near your left hand. Going through that transition is the same action as crawling and again demonstrates the rotary stability from the FMS, as well as thoracic rotation. Meanwhile, the shoulders are still performing open- and closed-chain stability, and your planted right foot is demonstrating closed-chain hip stability.
Get Up Part 5: Lunge Position
 The lunge position is the midway point between being on the ground and being on two feet. It sounds obvious, but from a developmental point it is a highly beneficial position to train. It demonstrates both ability in split stance as well as proves the ability to both hip flex and extend at the same time. Loading the bell on one side also proves anti-rotational strength.
Get Up Part 6: Standing
The get up goes through two of the three possible foot positions (standing and split stance, missing single-leg stance), as well as going from a fetal to fully upright position. And there are a host of other important elements that get you there. This is precisely why Gray Cook says that if you can do a get up well, then he’ll bet you can do many other things well, too.
Which Tool Is Best for the Get Up
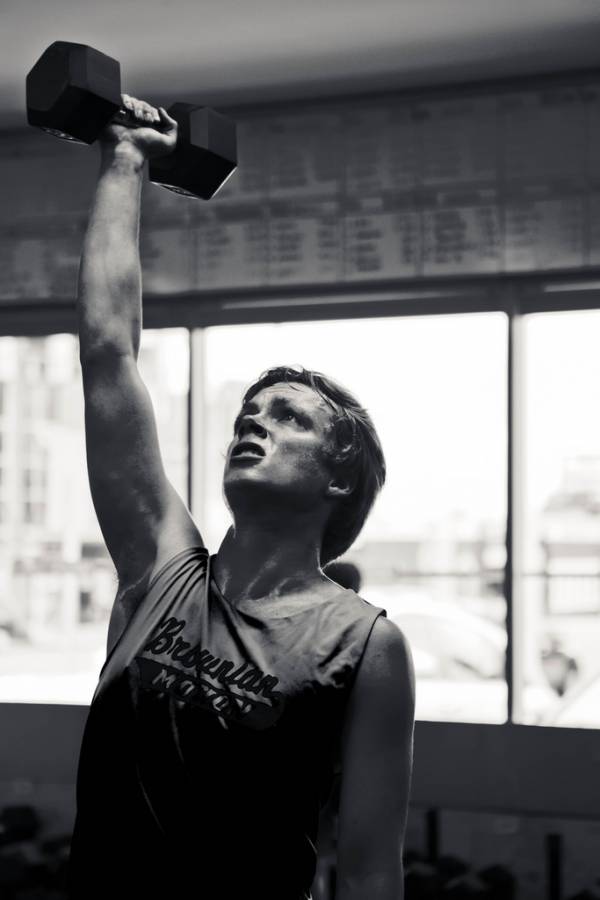
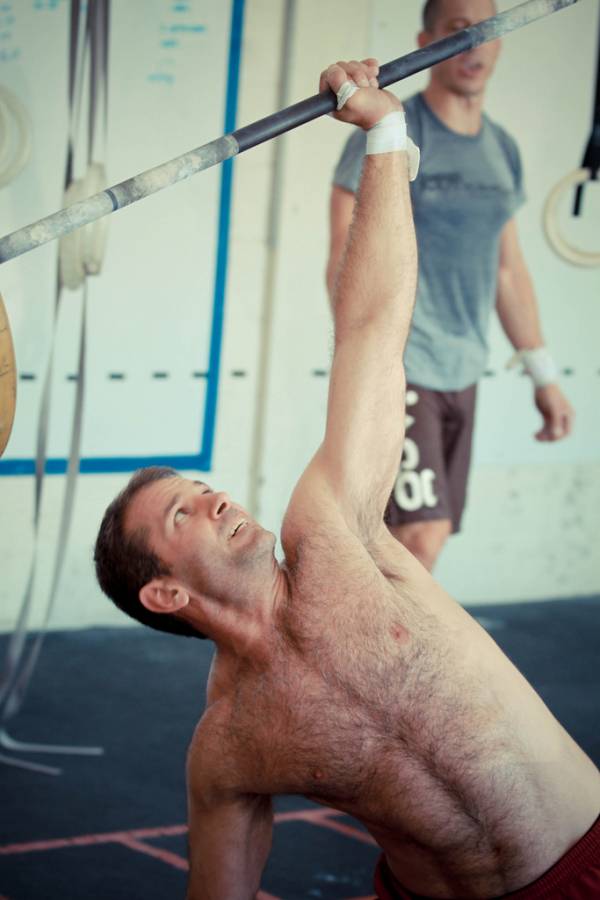
Many people get stuck thinking that get ups can only be performed with a kettlebell. Not so, as using other objects brings about unique challenges based on the center of that object’s mass. Barbells, dumbbells, and sandbags are all great ways to do get ups and should also be incorporated into your training.
The Importance of Straight-Arm Strength Movements
One of the things many miss in their training (in my opinion because they don’t really seek to integrate their training) is that the get up is a superb straight-arm strength move. Straight-arm movements like levers and planches can be hard skills to acquire and there are usually many early steps to be undertaken before achieving the full love. But the get up can be a great addition to straight-arm strength practice and fits well within a circuit. For example:
 Tuck front lever x 10 seconds
- Tuck planche x 10 seconds
- Support flag x 10 seconds each side
- Heavy get up each side
Repeat this for five rounds, resting as needed. For those looking for amazing core development and strength without adding much bulk, this routine works amazingly.
Don’t get tied into thinking get ups are a beginner exercise and need only be paired with swings. Treat them like the rest of your training – do them heavy for low reps (though, I advise not going above three reps per side without putting the bell down), do them with a variety of implements, and do them in conjunction with other exercises to round out your training. As you can see, the reasons for doing get ups are numerous and having them in your plan can help get rid of many superfluous movements from your training.
Photos courtesy of Miguel Tapia Images and CrossFit LA.


