It’s not that often I get enthusiastic about a piece of exercise equipment, but I’m excited about kettlebells. Exercise equipment is, after all, just a means to an end in providing sufficient load so that we work hard enough that some adaptation (getting stronger, faster, more power, or better movement) takes place.
The reason I like kettlebells is that the exercises usually involve movements that employ many joints and can be adapted to sports training relatively easily.
The exercises can then become more ‘functional’ than some others. The exercises use momentum and gravity to assist the load and therefore the actual mass of the weight can often be reduced, making the equipment easier to handle (and less expensive if you feel tempted to purchase your own).
Kettlebells give you, the cyclist, the opportunity to do some great gym exercises to support your sport.
The reason why this type of training is good is that it presents an alternative to cycling in unsuitable weather, enables a level of overload to be created in a short time, and also allows you to concentrate on a particular area needing reinforcement.
The dynamic nature of the exercises also provide a good cardiovascular load, so don’t be surprised if you find your heart racing at the end of a set.
In regards to injury and pain prevention, I have previously written about back pain and training with kettlebells is also a good way to reinforce the core muscles in a functional way. This would be much more functionally related to cycling that something like crunches would be – as we shall see in a moment.
As with any new exercise, if you are not used to using kettlebells it’s a good idea to start off with some coaching on the correct technique and a small load.
Initially I would suggest a bell weighing 8-12kg to get used to the exercises and then increase after a few sessions. If you have a history of back pain, then use a much lower load and do obtain some coaching, as the momentum of the moving weight will increase the load significantly.
And, as always, begin with a thorough warm-up to get all the muscles warm and joints mobilized. I’ve learned over the years that this is an important part of the exercise session and have inadvertently strained something by skimping on this.
Designing a Workout for Cycling
In order to design a functional cycling workout, we first have to look at the motions that take place whilst cycling.

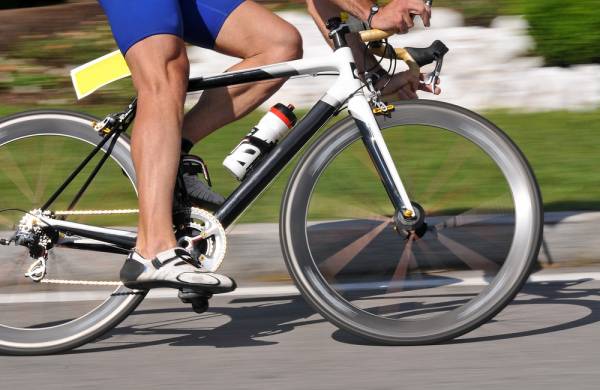
At the simplest level, we can look at the hip and knee extending as the leading leg pushes down on the pedal. The cyclist is seated and there is tension in the rear (posterior) part of the upper body and arms as the cyclist maintains a grip on the handlebars.
Stage 1: The Kettlebell Swing
The first exercise to look at is the two-hand kettlebell swing and how to adapt it to cycling:
- Begin in a standing position with feet hip-shoulder width apart with the kettlebell held by both hands in front of the hips.
- Brace the core by squeezing navel to spine. This stabilizes and helps protect the back. Push hips backwards, so that the kettlebell swings between the legs. I would suggest initially limiting the amount of knee flexion to less than ninety degrees.
- When the kettlebell reaches the bottom of its swing, extend the hips and knees strongly so that sufficient force is created to elevate the kettlebell to shoulder height.
- As the kettlebell rises the arms should be relaxed and the shoulders drawn back. The movement should use the momentum of the swing to elevate the kettlebell to shoulder height with the arms horizontal, rather than trying to lift the kettlebell out in front.
- Let the kettlebell drop between the legs again and repeat.
If this is a new exercise then keep the number of repetitions and the load low.
This exercise has provided a dynamic load in knee extension, hip extension, stabilization of the core, and shoulder retraction. This exercise can be progressed by increasing the load.
Stage 2: Upper Body Variation
The next step to make this exercise more functional in respect of cycling is to consider how the upper body is used.
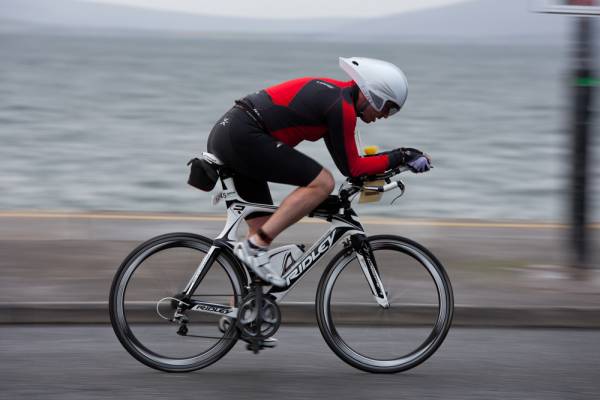
If you have been watching footage from this year’s Tour de France or La Vuelta, as the cyclists approach the finish you can see that each arm pulls on the handlebar on the same side as the leading leg pushing the pedal down. In some cases the cycle will tilt from side to side to show this.

This motion can be easily replicated using the kettlebell by using a one-handed swing.
The routine is exactly the same as the two-handed swing, but the kettlebell is just held in one hand. Be extra careful to ensure that the kettlebell swings between the legs and not into the legs.
As we are only using one arm, it may be a good idea to reduce the size of the weight for this compared to the two-handed swing.
This exercise extends the knee and hips as before. The shoulder is retracted (pulled back and in) in the upswing as before. This time, however, an unequal load and slight twist has been presented on the upper body to simulate pulling on each side of the handlebar.
The sets may be done by completing all the repetitions on one side before swapping sides. Alternatively, the sides can be changed by carefully swapping hands at the top of the swing.
A further variation can be made by swinging the kettlebell on the outside of the leg, rather than between the legs.
Do ensure that you have mastered the between-the-legs movement first, as going outside the legs increases the instability of the exercise. As before, take care to ensure the kettlebell stays clear of the legs and knees – that hurts!
Stage 3: Lower Body Variation
Going back to our cyclist image again, we can make some variations on the lower body to make our kettlebell exercises more functional. One observation is that the cyclist’s feet are offset as they rotate.
We can simulate this by offsetting the feet while we swing. The amount of offset is not much, just the same as the distance between the pedals, aligning the heel of the front leg with the toe of the rear leg, whilst keeping feet shoulder with apart, should be sufficient.

You can employ further variations on this stance as well. Initially we could start with the two-handed swing with the feet offset slightly, and then go from there. As this is a new movement, start with a low weight again.
Stage 4: Put It All Together
So now we have a progression from the two-handed swing to some more functional cycling variations by changing the upper and lower body positions.
The final variation is the one-handed swing with the feet offset. Gripping the kettlebell on the same side as the forward offset leg will be a similar load to those experienced in cycling.
Introducing some simple variations of upper and lower body has given us a total of at least fifteen different exercises:
- Two-handed swing
- One-handed swing between the legs (left and right arm)
- One-handed swing outside the legs (left and right arm)
- Two-handed swing with feet offset (left and right leg offset)
- One-handed swing with feet offset between the legs (there are four variations here by swapping leg and arm side)
- One-handed swing with feet offset outside the legs (there are four variations here by swapping leg and arm side)
Next time you have the opportunity to try some cycling-related exercises in the gym, why not give the kettlebell a swing?
Photos courtesy of Shutterstock.


